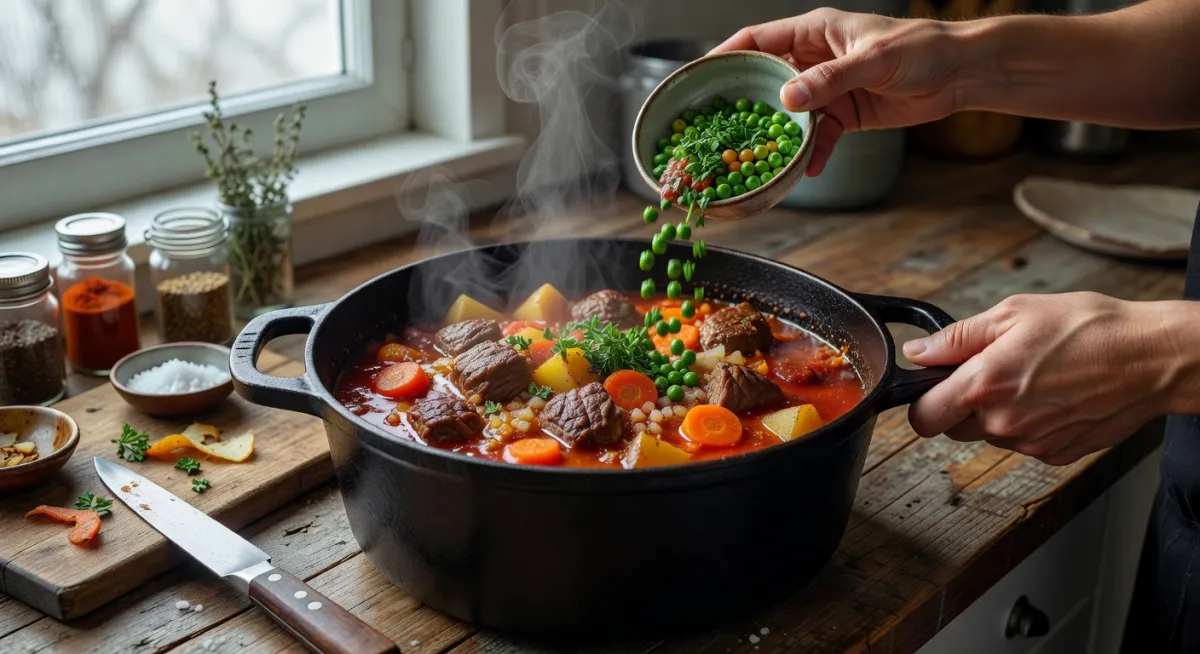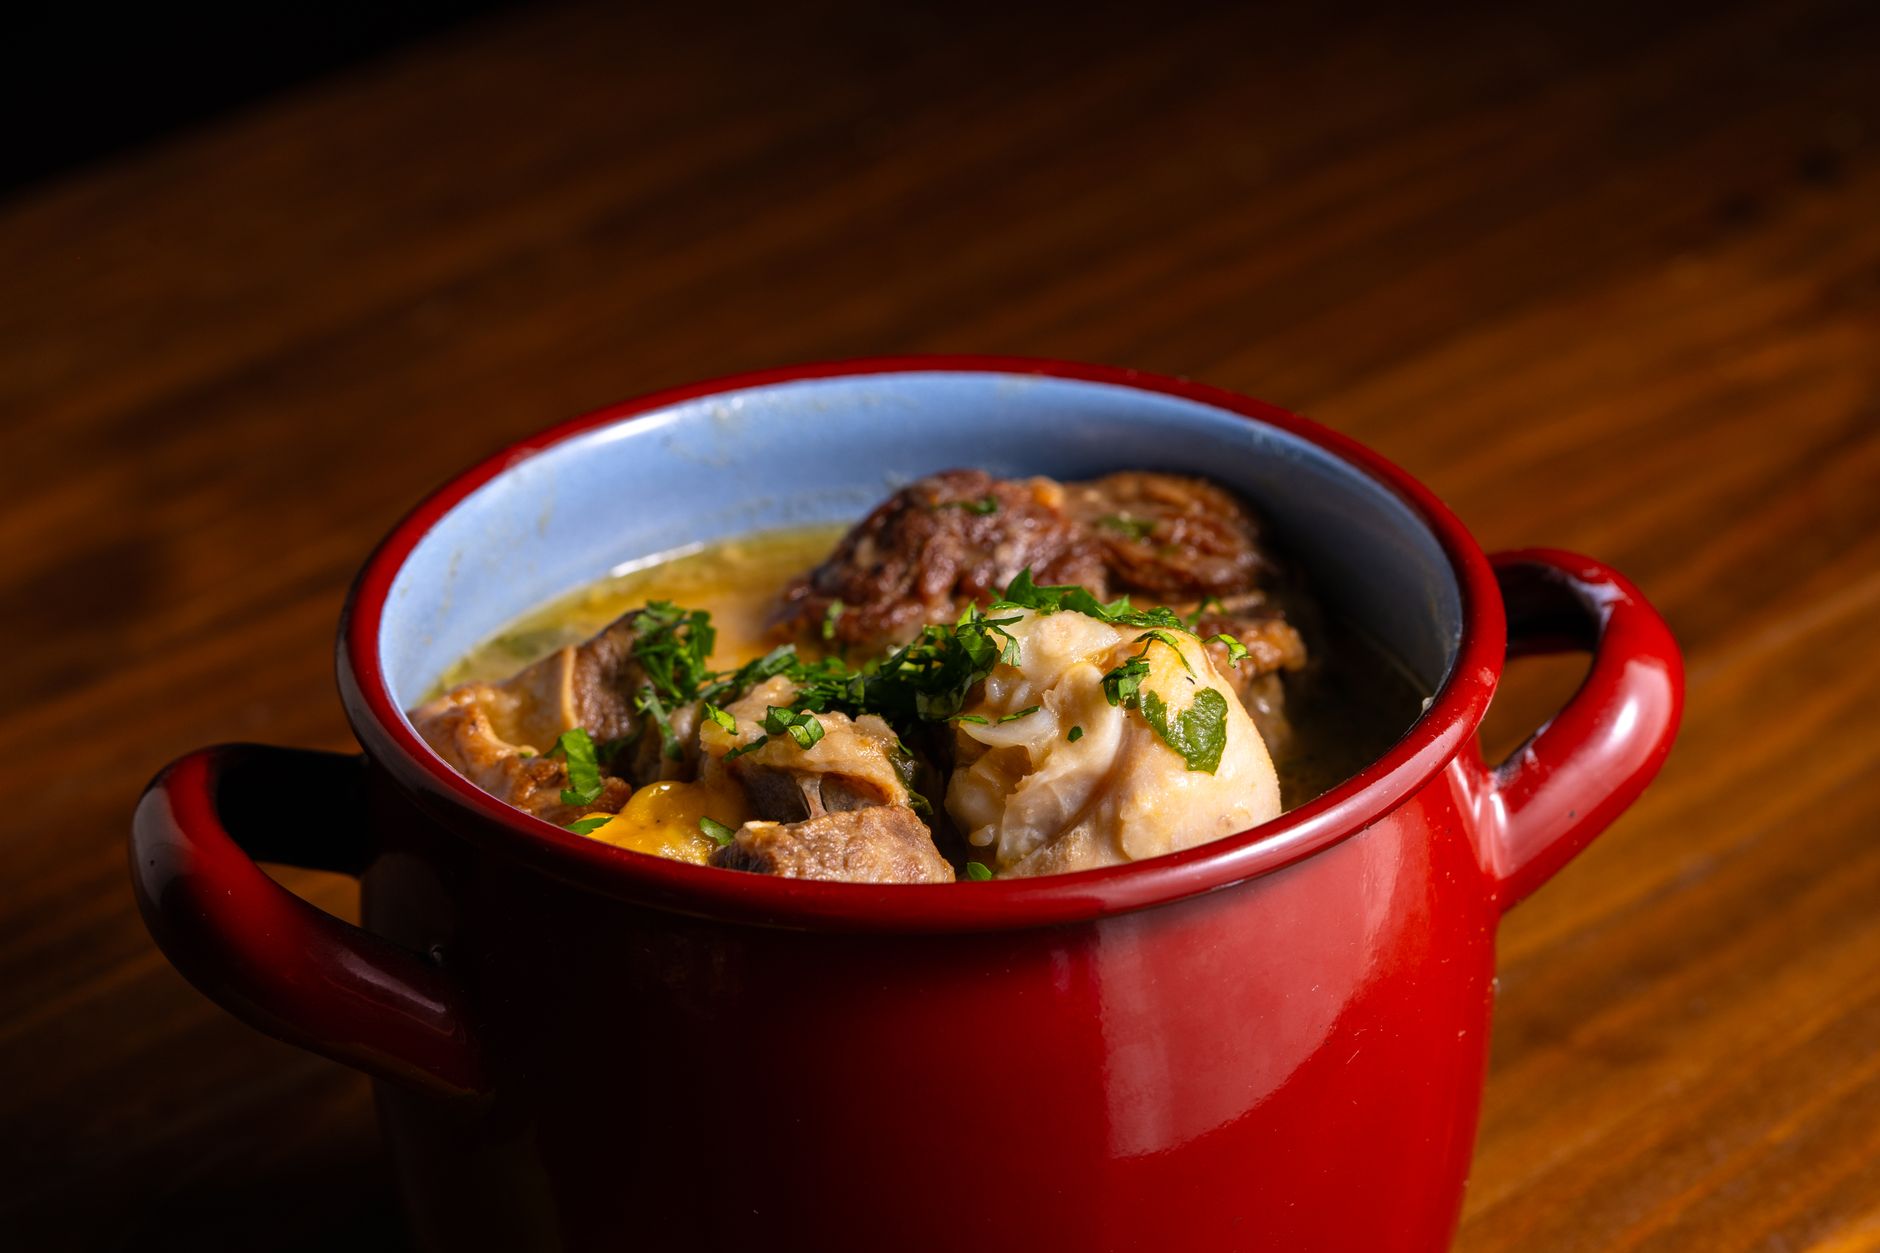
There's a quiet kind of kitchen magic that happens when you take a tough, inexpensive piece of meat — the kind most people walk past at the butcher counter — and turn it into something so tender it falls apart at the touch of a fork, surrounded by a rich, glossy sauce that tastes like it came from a serious restaurant kitchen. That magic has a name: braising. If you're searching for easy braising recipes for beginners, you've landed in the right place, because braising is arguably the most forgiving, lowest-skill-ceiling technique that delivers the highest reward in all of home cooking.
What Braising Actually Is
Braising is a two-stage cooking method. You first sear your ingredient over high heat to build a browned, flavourful crust, then you add liquid — wine, stock, beer, water, or a combination — partially submerge the ingredient, cover the pot, and cook it low and slow, usually in the oven or on a gentle stovetop. That's it. The technique sits at the heart of some of the world's most beloved food traditions, from French pot-au-feu to Taiwanese red-braised pork belly to Italian osso buco.
The key distinction between braising and stewing is volume of liquid. A braise uses just enough liquid to come roughly one-third to halfway up the ingredient, so the bottom simmers while the top steams gently. A stew fully submerges the ingredients. Both are wonderful, but braising tends to produce a more concentrated, intensely flavoured sauce because less liquid means less dilution.

As an Amazon Associate, I earn from qualifying purchases.
Why Cheap Cuts Are Actually Better for Braising
This is the counterintuitive truth that makes braising such a revelation for home cooks: the cuts that are least expensive are the ones that braise best. Here's why.
Tough cuts — things like beef chuck, pork shoulder, lamb shanks, chicken thighs, and short ribs — are tough precisely because they come from well-worked muscles. Those muscles contain a lot of connective tissue, specifically a protein called collagen. When collagen is exposed to moist heat over a long period, it converts into gelatin. Gelatin is what gives a properly braised dish its silky, almost lip-coating texture and gives the braising liquid that glossy, sauce-like body. A lean, expensive cut like a beef tenderloin contains very little collagen, so it would turn dry and grainy under the same treatment. The cheap cut rewards patience; the expensive one punishes it.
The Essential Equipment
You don't need much. The ideal vessel is a heavy-bottomed pot with a tight-fitting lid — a Dutch oven is the classic choice, and cast iron or enamelled cast iron works beautifully because it distributes heat evenly and retains it well. If you don't own a Dutch oven, any oven-safe pot with a lid will work. Failing that, you can braise on the stovetop over the lowest possible heat, checking occasionally to ensure nothing scorches.
A pair of tongs for searing, a wooden spoon for scraping up the browned bits (the fond — this is where enormous flavour lives), and a ladle for serving are all you need beyond the pot itself.
As an Amazon Associate, we earn from qualifying purchases.
The Step-by-Step Braising Method
Step 1: Dry and Season Your Meat
Pat the meat thoroughly dry with paper towels. Moisture is the enemy of a good sear — wet meat steams instead of browns. Season generously with salt and pepper on all sides. If you have time, salt the meat an hour or more in advance and leave it uncovered in the fridge; this draws out surface moisture and then lets the salt absorb back in, seasoning the meat more deeply.
Step 2: Sear Hard and Don't Rush It
Heat your pot over medium-high heat, add a neutral oil with a high smoke point, and sear the meat in batches if necessary — never crowd the pan. You want deep, dark, mahogany-brown colour on as many surfaces as possible. This browning reaction (the Maillard reaction) creates hundreds of flavour compounds that will carry through to the finished dish. This step typically takes three to five minutes per side for a large cut. Remove the seared meat and set it aside.
Step 3: Build Your Aromatics
In the same pot, sauté your aromatics — typically diced onion, carrot, and celery, often called a mirepoix — until softened and lightly coloured. Add garlic, tomato paste, fresh herbs, or spices depending on your recipe. Cook the tomato paste for a minute or two until it darkens slightly; this cooks out its raw, acidic edge and deepens its flavour.
Step 4: Deglaze and Add Liquid
Pour in your liquid — wine, stock, beer, cider, or a mixture — and use your wooden spoon to scrape every browned bit from the bottom of the pot. Those caramelised remnants dissolve into the liquid and become the backbone of your sauce. Return the meat to the pot. The liquid should come roughly one-third to halfway up the sides of the meat, not cover it.
Step 5: Cook Low and Slow
Bring the liquid to a gentle simmer, then cover the pot and transfer it to an oven preheated to around 150–165°C (300–325°F), or keep it on the stovetop over the lowest possible heat. The target is a very gentle, barely-there simmer — you want to see the occasional bubble, not a rolling boil. Aggressive boiling will tighten and toughen the proteins before the collagen has time to dissolve. Most braises take between two and four hours, depending on the size and type of cut.
Step 6: Finish and Serve
The meat is done when it is completely tender and yields easily to a fork or a gentle prod. Remove it and keep it warm. If the braising liquid looks thin, simmer it uncovered on the stovetop for a few minutes to reduce and concentrate it into a proper sauce. Adjust seasoning, add a splash of fresh acid (a squeeze of lemon or a dash of vinegar) if needed to brighten the flavours, and serve.
The Best Beginner Braising Recipes to Start With
Beef Chuck Pot Roast
This is the quintessential entry point. A boneless beef chuck roast, seared and braised with onion, garlic, carrots, potatoes, beef stock, and a splash of red wine for two and a half to three hours, produces a meal that is deeply satisfying and endlessly forgiving. The vegetables absorb the braising liquid and the whole pot becomes a complete dinner. Leftovers, if you have any, are arguably better the next day once the flavours have had time to meld.
Braised Chicken Thighs
Chicken thighs are the ideal cut for braising — fatty enough to stay moist, flavourful enough to stand up to bold aromatics. A simple preparation with white wine, whole garlic cloves, fresh thyme, and chicken stock takes less than an hour and a half from start to finish, making it an achievable weeknight dinner. The skin won't stay crispy (it's submerged in liquid), so either remove it before braising or embrace the yielding, gelatinous texture it contributes to the sauce.
Lamb Shanks
Lamb shanks look intimidating but are exceptionally well-suited to braising because of their high collagen content. Braise them in red wine, crushed tomatoes, rosemary, and beef or lamb stock for three to four hours. What you get is meat that slides from the bone at a look, sitting in a sauce so rich and deeply flavoured it needs nothing more than mashed potatoes or crusty bread beneath it. This is the dish that makes people think you've been cooking for decades.
Pork Shoulder (Pulled Pork or Carnitas-Style)
Pork shoulder is one of the most economical cuts available and one of the most rewarding to braise. Season generously with cumin, oregano, garlic, and citrus juice, braise in stock and orange juice for three to four hours, then shred the meat into the concentrated juices. The result is extraordinarily versatile — pile it into tacos, serve it over rice, stuff it into sandwiches. If you enjoy Mexican-inspired cooking, pork carnitas braised in lard or stock and then crisped briefly under a broiler are a revelation.
Liquid Choices: What to Braise In
The liquid you use becomes your sauce, so choose something with flavour. A common rule of thumb is: if you wouldn't drink it, don't cook with it. A full-bodied red wine works beautifully with beef and lamb. White wine or dry cider suits pork and chicken. Beer — particularly a dark ale or stout — pairs wonderfully with beef short ribs. Stock (chicken, beef, or vegetable) is the reliable backbone in almost every braise and can be used alone or in combination with wine or other liquids. Canned crushed tomatoes add body, acidity, and sweetness, and are particularly common in Italian and Mediterranean-style braises.
You don't need expensive wine. A bottle you'd happily drink at the table but wouldn't feel precious about pouring into a pot is exactly right.
Common Beginner Mistakes to Avoid
Skipping the Sear
Some recipes suggest you can skip searing to save time. Technically you can — the meat will still become tender. But the flavour depth you sacrifice is significant. The sear builds the foundation of the entire dish. It takes ten minutes and is worth every second.
Using Too Much Liquid
More liquid does not mean better results. Too much liquid dilutes the sauce and prevents the fond from concentrating properly. Resist the urge to add extra stock. If the liquid level looks low during cooking, that's often correct.
Cooking at Too High a Temperature
A vigorous boil will toughen meat before the collagen has converted to gelatin. The difference between a gentle, trembling simmer and a rolling boil is the difference between silk and shoe leather. Keep it low.
Not Tasting and Adjusting at the End
After a long braise, the sauce may need salt, acid, or a pinch of sugar to balance. Taste the liquid before serving and adjust. A few drops of red wine vinegar or a squeeze of lemon can lift a sauce that tastes flat or one-dimensional.
Making a Braise Ahead of Time
Braised dishes are among the best make-ahead meals in cooking. The flavour improves markedly after a night in the refrigerator as the components continue to exchange flavours. Refrigerating the braise also makes it easy to lift off the solidified fat that rises to the surface — a practical benefit that also makes for a cleaner, less greasy sauce when you reheat.
Reheat gently in the oven or on the stovetop, adding a small splash of stock or water if the sauce has thickened too much in the fridge.
Braising Beyond Meat
Braising isn't exclusively a meat technique. Hearty vegetables and legumes respond beautifully to the same method. Braised fennel in white wine and olive oil becomes sweet and yielding. Braised cannellini beans with garlic, rosemary, and tomato are a staple of Tuscan cooking. Whole heads of garlic braised in stock become spreadably soft and mellow. If you're exploring vegetarian cooking, braising opens up a world of deeply flavoured, comforting dishes that don't rely on meat for their richness.
Why Braising Deserves a Permanent Place in Your Cooking
What makes braising so valuable for beginners isn't just that it's forgiving or that it works on inexpensive ingredients — though both are true. It's that it teaches you something fundamental about how cooking works: that time and gentle heat are tools as powerful as any knife skill or complex technique. You learn to read a pot, to understand what a simmer looks like versus a boil, to taste and adjust a sauce, to understand why certain cuts need certain treatment. These are skills that carry across everything you cook.
Start with a chuck roast or a handful of chicken thighs. Clear an afternoon. Let the oven do the work. Lift the lid after three hours and breathe in what patience and a little liquid have made. That's braising — and once you've done it once, you'll want to do it every week.